Getting a wonderful meal from a tri tip roast, a cut many people really enjoy, actually depends quite a bit on how you prepare it for serving. This particular piece of beef, often seen at gatherings and backyard cookouts, truly offers a great flavor and a pleasing texture, especially when it’s handled with a bit of care. You see, the way you slice it after it’s cooked can make all the difference between a piece of meat that’s a little tough to chew and one that practically melts in your mouth, full of its natural juices. So, if you are hoping to serve something that earns compliments, paying attention to the cutting method is, well, pretty important.
It’s a funny thing, really, but even seasoned cooks sometimes find themselves scratching their heads when it comes to figuring out the best way to slice this particular cut. That’s because the meat’s natural lines, what we call the grain, can be a bit tricky to spot, especially after it has developed a beautiful, dark outer layer from cooking. You might look at it and think, "Where do I even begin with this?" It’s a common puzzlement, as the grain can shift directions right in the middle of the roast, which, you know, isn't something you see with every piece of beef.
But don't you worry about it. We’re going to walk through this together, step by step, so you can feel completely confident when it’s time to get your tri tip ready for the plate. We’ll look at how to find those hidden grain patterns, even on a nicely browned piece, and how to make the right cuts so every single bite is as tender and tasty as you want it to be. It’s actually not as complicated as it might seem at first glance, and the payoff in flavor and texture is, well, quite big.
Table of Contents
- What Makes Tri Tip Special for Your Cookout?
- Why Is Proper Slicing So Important for Tri Tip?
- How Do You Find the Grain on Tri Tip?
- Dealing with the Tricky Tri Tip Grain
- Getting Ready to Cut Your Tri Tip
- How to Cut Tri Tip in Two Simple Steps?
- Beyond the Slice - Making the Most of Your Tri Tip
- Does Removing the Fat Cap Matter for Tri Tip?
What Makes Tri Tip Special for Your Cookout?
A tri tip steak, you know, really stands out as a fantastic choice for nearly any gathering where good food is on the menu. It's got this wonderful balance of being quite affordable, which is always a plus, while still delivering a taste experience that feels, well, pretty luxurious. Some folks even affectionately refer to it as "poor man's brisket," and that gives you a little hint about its rich flavor and satisfying texture. It's got a beefy taste that's, you know, really robust without being overwhelming, and it tends to cook up with a nice juiciness that everyone seems to appreciate.
When you are planning a backyard get-together or just a nice family dinner, picking a tri tip can be a very smart move. It's a cut that, in a way, offers a lot of bang for your buck. You can get a good-sized piece of meat that will feed a fair number of people, and it won't break the bank. Plus, it takes to seasonings and marinades so, you know, quite beautifully, allowing you to really make it your own with whatever flavors you prefer. It's just a very versatile piece of beef that, in some respects, really shines when grilled or roasted.
The appeal of this cut also comes from its inherent tenderness, provided, of course, that you handle it with a bit of care. It’s not one of those cuts that requires hours and hours of slow cooking to become palatable. You can cook it to a nice medium-rare, and it will be, well, wonderfully soft and pleasant to eat. This makes it a great option for those times when you want something special but don't have all day to spend over the stove or grill. It's a crowd-pleaser, more or less, that consistently delivers a satisfying meal.
Why Is Proper Slicing So Important for Tri Tip?
When you have put in all the effort to choose a good tri tip, season it just right, and cook it to perfection, the very last step, the slicing, is actually, you know, perhaps the most important. It sounds simple, but how you slice your tri tip truly makes a huge difference in how enjoyable the finished meat will be. If you cut it the wrong way, you could end up with pieces that are a bit chewy, even if the meat itself was cooked just right. This is because of the way muscle fibers are structured.
Think about it like this: meat is made up of long strands of muscle. If you cut along those strands, you end up with very long pieces of fiber in each bite, which are, you know, harder to break down with your teeth. It’s like trying to chew a handful of uncooked spaghetti strands all at once. But if you cut across those strands, you shorten them considerably, making each piece much easier to bite through and enjoy. So, getting the correct direction when slicing tri tip is, you know, absolutely key to tenderness.
This simple act of slicing in the right direction, against the grain, ensures that every single piece of your tri tip is as soft and juicy as it can possibly be. It’s what transforms a good piece of cooked meat into a truly memorable one. Without this final step done correctly, you might find yourself a little disappointed with the texture, despite all your earlier efforts. It’s a small detail that, you know, makes a really big impact on the overall experience of eating this delicious cut.
How Do You Find the Grain on Tri Tip?
Finding the grain on a tri tip can be a bit of a puzzle, especially for someone who hasn't worked with this particular cut much before. The grain refers to the direction the muscle fibers run, and it's what you need to cut against for that perfect tender bite. You might look at your cooked tri tip, perhaps with a lovely, dark crust, and think, "Where are these mysterious lines everyone talks about?" It’s not always, you know, immediately obvious, and that's perfectly normal.
The challenge is that the grain on a tri tip, quite uniquely, actually changes direction in the middle of the roast. It’s not like a brisket or a flank steak where the grain runs fairly consistently in one direction across the whole piece. This means you can't just pick a direction and stick with it for the entire cut. You have to, you know, really pay attention and adjust as you go. This is where a little bit of knowledge and a keen eye come in handy.
Sometimes, if you look closely at the raw meat before cooking, you can get a better sense of where the fibers are going. But even then, after it’s cooked and perhaps a bit browned on the outside, those patterns can, you know, become quite obscured. The trick is often to look for the faint lines or striations on the surface of the meat. They might be very subtle, but they are there. It’s like looking for a pattern in a piece of wood; once you see it, it becomes, well, much clearer.
Dealing with the Tricky Tri Tip Grain
Since the grain on a tri tip doesn't just run in one neat direction, you need a strategy for slicing it. This is where many people, you know, tend to get a little tripped up. The muscle fibers, as we've talked about, tend to converge and change their path somewhere near the center of the roast. If you just keep slicing straight through without acknowledging this shift, you’ll end up with some pieces that are beautifully tender and others that are, well, a bit chewy because you've accidentally cut with the grain.
The good news is that once you know about this particular characteristic, it’s not, you know, especially hard to handle. The key is to find that point where the grain seems to split or change its orientation. It’s often somewhere in the middle, creating a sort of V-shape or a distinct angle where the two sets of muscle fibers meet. You might need to look at the roast from different angles, perhaps even gently pull it apart a little to see the fibers more clearly, especially if it has a really nice, dark crust.
Once you’ve identified this meeting point, it becomes much simpler to plan your cuts. You’ll essentially be treating the tri tip as two distinct sections when it comes to slicing. Each section will have its own consistent grain direction, and you’ll slice against that specific direction. It’s a simple adjustment that, you know, makes a world of difference in the final texture of the meat. Just take your time, look for those lines, and you’ll be good to go.
Getting Ready to Cut Your Tri Tip
Before you even think about putting a knife to your beautifully cooked tri tip, there are a few things to consider that will make the slicing process much easier and yield the best results. First off, you want to make sure your tri tip has had a chance to rest after cooking. This is a very, very important step that, you know, often gets overlooked in the excitement of serving. Resting allows the juices within the meat to redistribute throughout the roast, rather than just running out onto your cutting board when you slice it.
Typically, a rest of about 10 to 15 minutes, maybe a little longer for a bigger roast, is usually sufficient. Just cover it loosely with some foil to keep it warm. While it's resting, you can gather your tools. A good, sharp knife is, well, absolutely essential here. A dull knife will just tear at the meat, making it harder to get clean, even slices, and potentially making the grain even more difficult to discern. So, make sure your blade is honed and ready for action. You know, a carving knife or a chef's knife works really well.
You’ll also want a stable cutting surface, like a good cutting board that won't slip around. Some cutting boards even have grooves around the edge to catch any juices, which is, you know, quite handy. Having everything ready before you start means you can focus entirely on the cutting itself, without having to stop and search for things. It just makes the whole process smoother and more enjoyable, which is what we're aiming for.
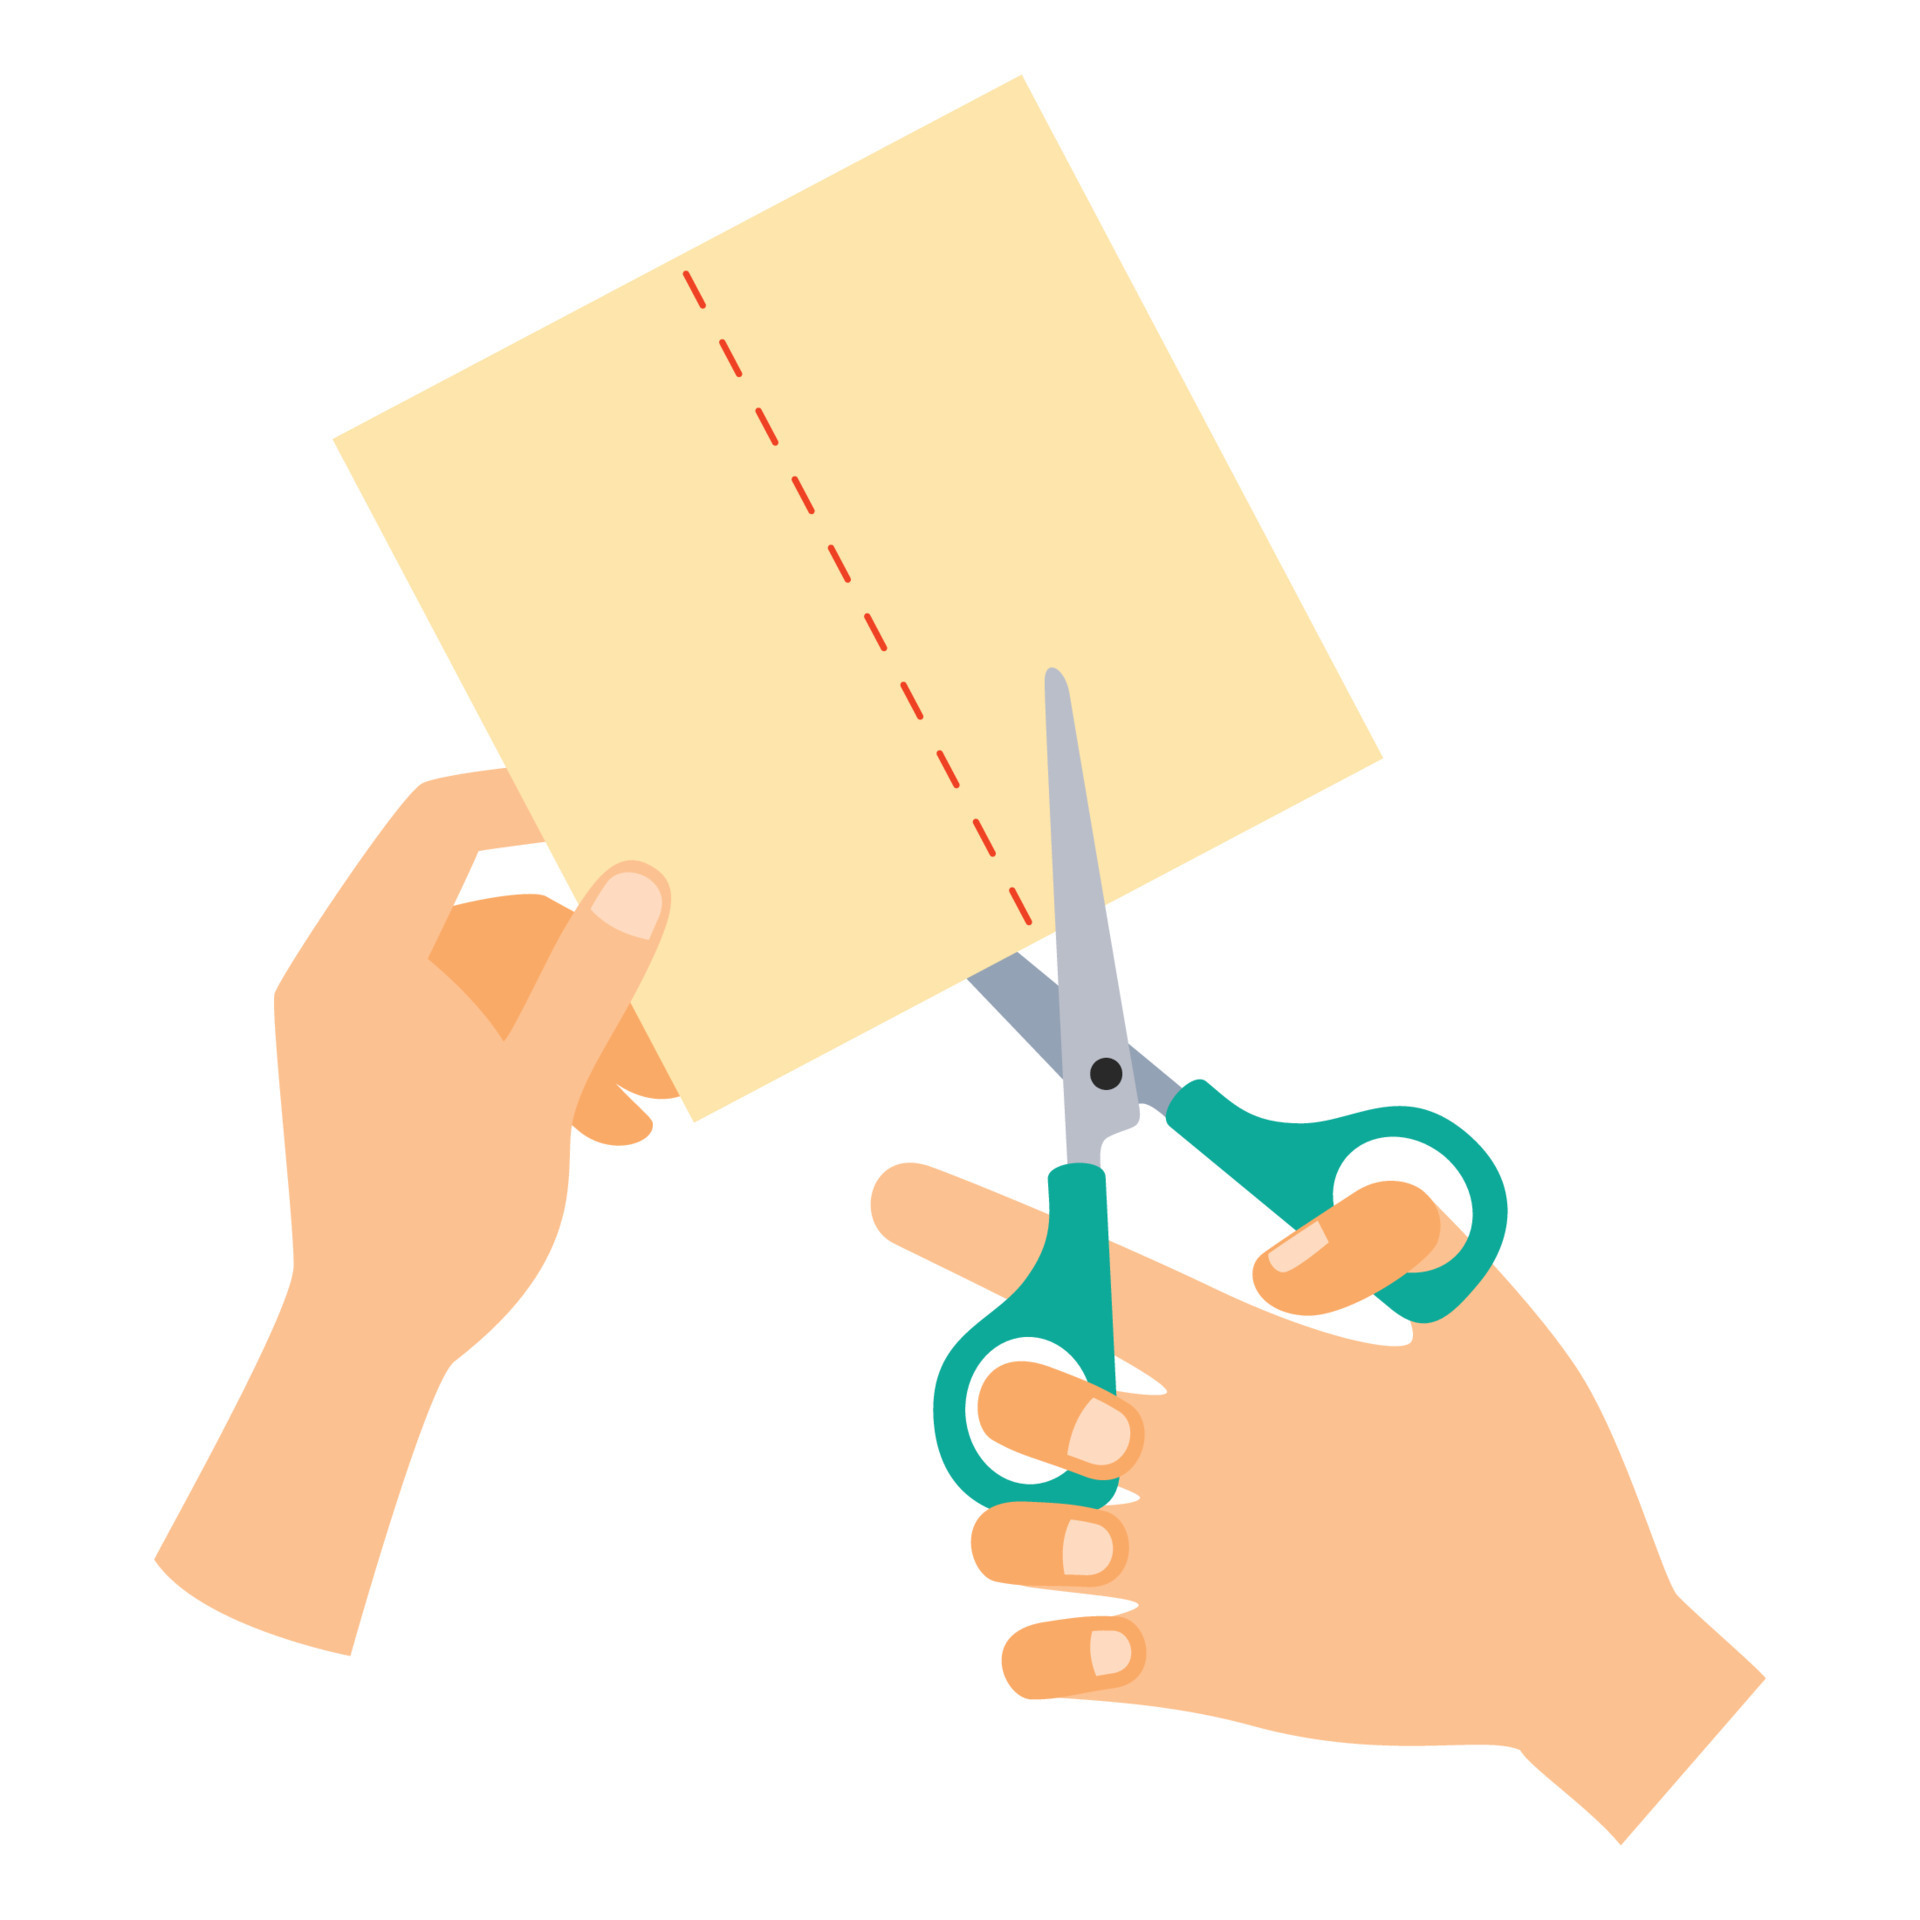
How to Cut Tri Tip in Two Simple Steps?
Once your tri tip has rested and you’ve got your sharp knife ready, the actual cutting process is, you know, quite straightforward, especially now that you understand the grain. The main thing to remember is that you're going to slice it into two main sections first, and then slice each of those sections against its specific grain. This approach simplifies the whole task and helps you achieve that tender result everyone wants.
The first step is to locate that center point where the grain changes direction. As we discussed, it often looks like the muscle fibers are heading in two different ways from a central spot. Once you've found this natural dividing line, you will, well, simply slice the tri tip in half right at that point. This gives you two distinct pieces, each with its own consistent grain pattern running through it. It just makes the rest of the cutting so much easier, really.
Now, for the second step, you'll take each of those halves and slice them against their individual grain. For one half, the grain might be running, say, horizontally, so you’ll slice vertically. For the other half, the grain might be running at an angle, so you’ll adjust your knife to cut perpendicular to that angle. You want to make your slices fairly thin, perhaps about a quarter of an inch thick or a little less, as this also contributes to tenderness. So, you know, just keep your slices even and consistent for the best outcome.
Beyond the Slice - Making the Most of Your Tri Tip
Knowing how to cut tri tip correctly is a major part of getting the best from this cut, but there’s a little more to the story of making it truly shine. To really get the most out of this unique and rewarding piece of beef, you might want to think about the steps leading up to the slicing, and even what comes after. It’s all part of creating that amazing meal experience that, you know, people will talk about.
For instance, before you even start cooking, considering how to choose the right tri tip at the store can make a difference. Look for one that has good marbling, which is those little flecks of fat within the meat. That marbling, you know, melts during cooking and helps keep the meat moist and flavorful. Then, there's the preparation, which often involves a good seasoning rub. A well-seasoned tri tip will have a much deeper flavor profile, and that's, well, always a good thing.
And, of course, the cooking itself plays a huge part. Whether you're grilling it over an open flame or roasting it in the oven, getting the temperature right is, you know, pretty crucial. Cooking it to the proper internal temperature ensures it’s tender and juicy, setting the stage perfectly for your expert slicing. All these elements work together to give you a tri tip that’s not just cut well, but tastes absolutely fantastic from start to finish.
Does Removing the Fat Cap Matter for Tri Tip?
One question that often comes up when preparing a tri tip is what to do with the fat cap, that layer of fat on one side of the roast. Some people like to leave it on, believing it adds flavor and moisture during cooking, and that’s, you know, a perfectly valid approach. The fat will render down, essentially basting the meat as it cooks, which can certainly contribute to a juicy end product. It just depends on what you prefer for your tri tip.
However, others choose to trim some or all of the fat cap off before cooking. The reasoning here is that while the fat does add moisture, not everyone enjoys eating large pieces of rendered fat, and removing it can allow your seasoning rub to really get directly onto the meat itself. If you're going for a really crispy crust, too, sometimes a thick fat cap can, you know, hinder that a little. It’s a personal preference, really, and both ways can result in a delicious tri tip.
If you do decide to remove the fat cap, or at least thin it down, you’ll want a sharp knife for this task as well. Just gently slide the knife under the fat layer and carefully slice it away, trying to leave as much of the actual meat intact as possible. This step, while optional, can definitely change the texture and mouthfeel of the finished tri tip, so it’s worth considering what you want from your meal. It’s all about making the tri tip exactly how you like it.
Related Resources:


Detail Author:
- Name : Agustin Kilback
- Username : herman.florian
- Email : wstark@yahoo.com
- Birthdate : 1978-08-20
- Address : 989 Schowalter Forges Lindfurt, DC 53206
- Phone : 908-816-4509
- Company : Botsford-Ferry
- Job : Advertising Manager OR Promotions Manager
- Bio : Qui et ut ullam repellendus corrupti qui atque. Est totam voluptas minima nam assumenda. Quas nihil nam ipsa omnis.
Socials
instagram:
- url : https://instagram.com/alessandra_real
- username : alessandra_real
- bio : Ipsa culpa accusamus est ut. Nisi quia animi facilis et quos.
- followers : 528
- following : 1323
tiktok:
- url : https://tiktok.com/@considine2001
- username : considine2001
- bio : Necessitatibus et non iure autem.
- followers : 2947
- following : 987
facebook:
- url : https://facebook.com/alessandraconsidine
- username : alessandraconsidine
- bio : Ducimus sequi illo illo excepturi rem. Porro qui iste ad natus ea.
- followers : 4017
- following : 1682
linkedin:
- url : https://linkedin.com/in/considinea
- username : considinea
- bio : Ducimus ipsam architecto nam.
- followers : 6541
- following : 32
twitter:
- url : https://twitter.com/alessandraconsidine
- username : alessandraconsidine
- bio : Aut cupiditate nulla similique beatae et. Ullam qui quo culpa. Harum corrupti pariatur totam quod aperiam explicabo deleniti.
- followers : 6439
- following : 2491
